17 September 2025
2 min read
How to edit pictures for print
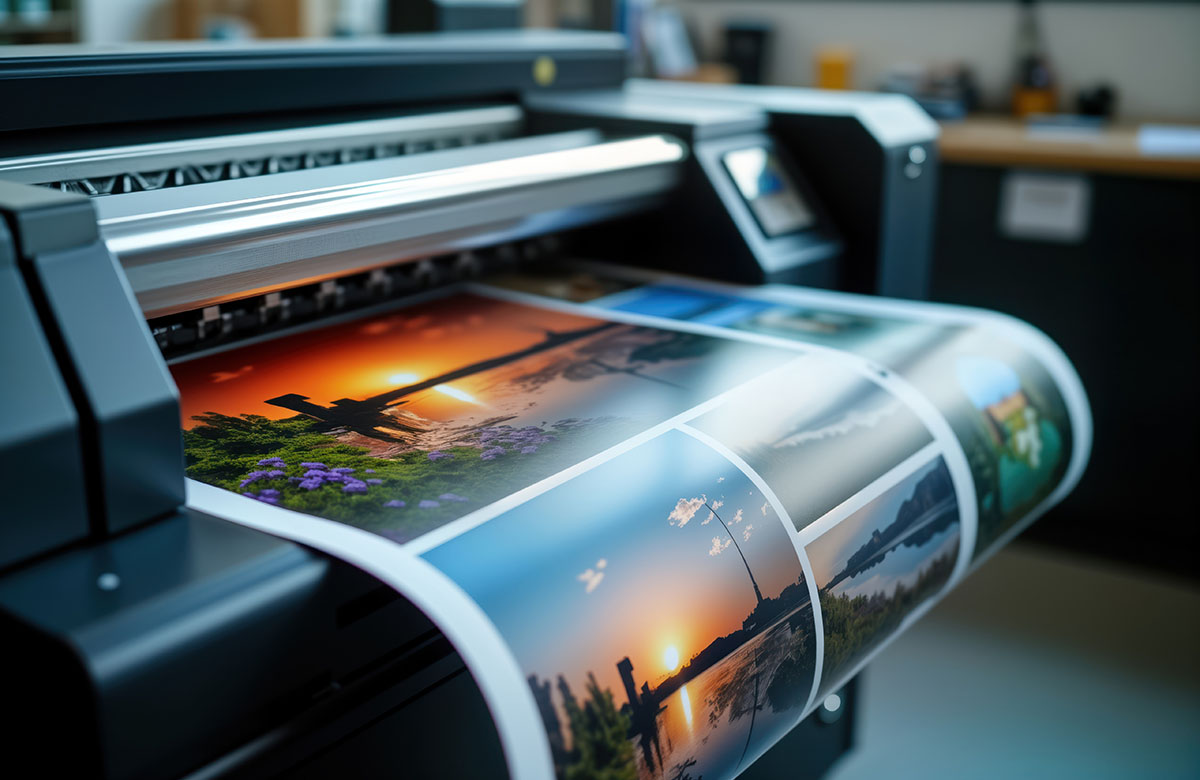
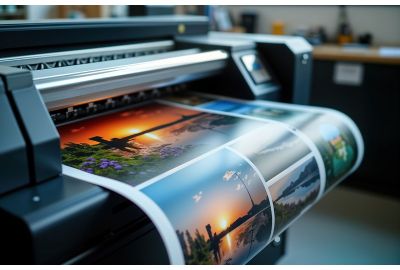
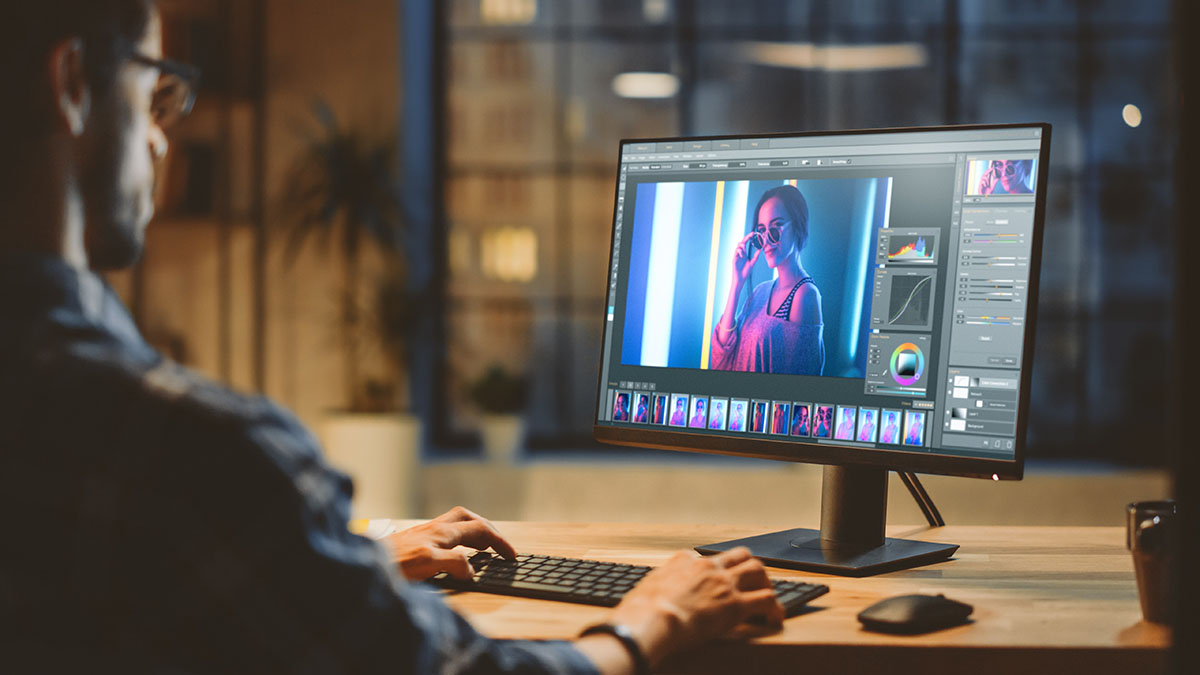
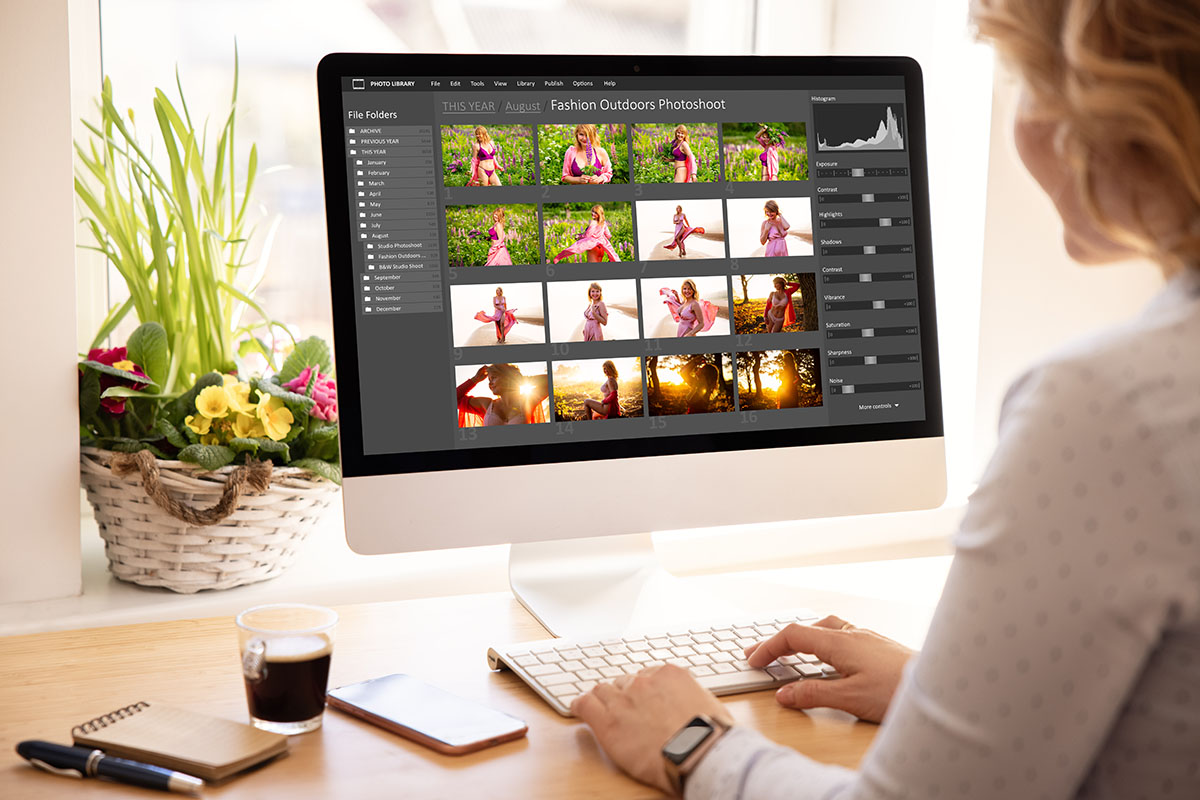
Got a photo you love and want to hang it up at home or gift it to someone? Before you print it, you might want to give it a little edit to make it look even better. Whether you’re into photography or just want to share your pictures with others, it helps to know how to get them ready for printing. Not every photo comes out perfect straight from the camera. Editing can bring out the best in your image—whether it’s going on a canvas, postcard, or something else.
1. Monitor Calibration — Go Beyond the Basics
- Use a hardware calibrator like Datacolor SpyderX or X-Rite i1Display for precision.
- Set your white point to D50 (5000K) to match standard viewing conditions for prints.
- Calibrate monthly — especially if you’re working on client projects or using older monitors.
2, CMYK vs RGB — A Nuanced Approach
- Edit in RGB, then convert to CMYK only at export if your printer requires it.
- Use soft proofing in Photoshop or Lightroom to preview how colours will shift in CMYK.
- For online print services, check their preferred colour profile
3, Cropping — Think in Aspect Ratios
- Match your crop to standard print sizes (e.g. 3:2 for 6×4", 5:4 for 10×8") to avoid unexpected trimming.
- Use cropping overlays like the rule of thirds or golden spiral to refine composition.
- For gallery wraps or canvas prints, leave extra space around the edges to avoid losing key details.
4, Resolution — DPI vs PPI
- DPI refers to printer dots, while PPI is your image resolution — aim for 300 PPI at final print size.
- Use this formula: Print Width (inches) × 300 = Required Pixel Width and Print Height (inches) × 300 = Required Pixel Height
- For large-format prints viewed from a distance, 150 PPI can still look sharp.
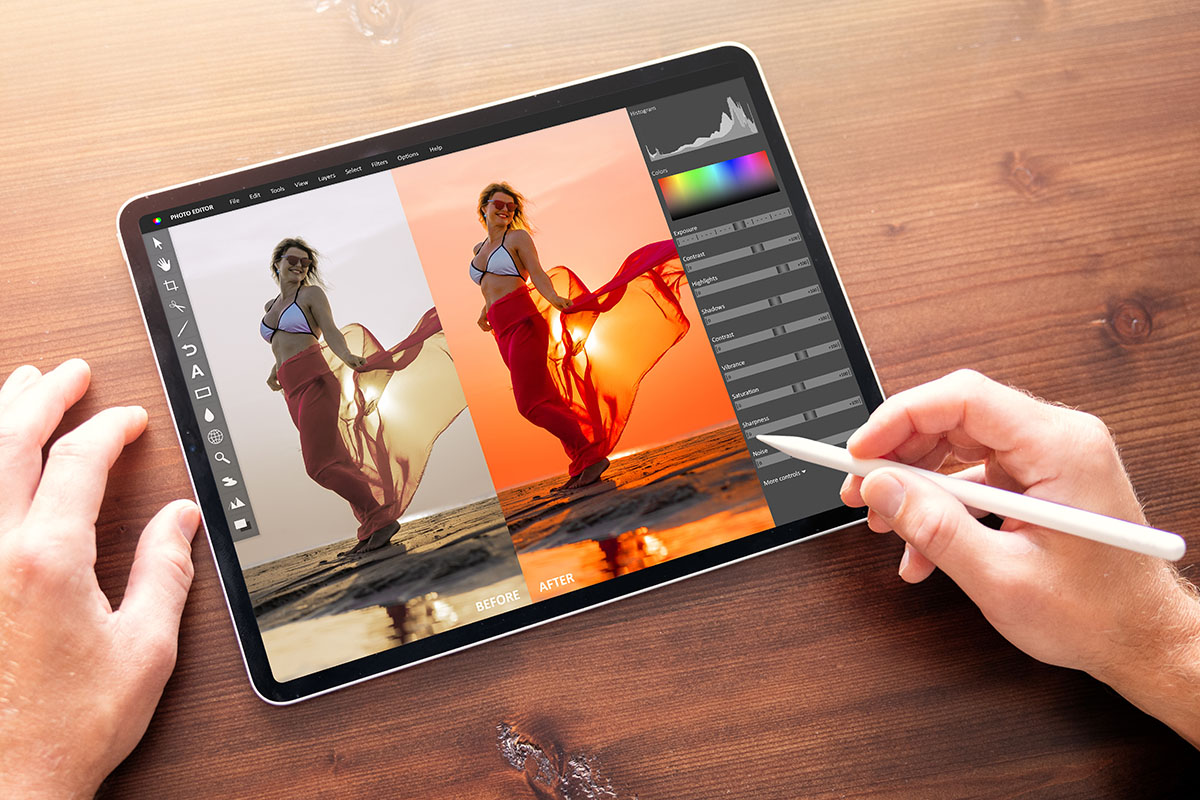
5, Make Your Print Stand Out
- Use clarity and texture sliders sparingly to enhance detail without over-sharpening.
- Apply selective edits (e.g. dodge/burn or radial filters) to guide the viewer’s eye.
- Consider noise reduction for low-light shots, especially if printing on smooth paper.
6, Saving — File Formats & Bit Depth
- Save as TIFF for maximum quality (especially for fine art prints); use JPEG for general photo printing; use PDF for printing with YouLovePrint
- Stick to 8-bit unless your printer supports 16-bit workflows.
- Embed the correct ICC profile (e.g. Adobe RGB or sRGB) to preserve colour fidelity.
Bespoke Printing Services
We get it — every project is different. That’s why our team is here to help. We love turning ideas into beautiful prints, no matter how simple or bold. From unique designs to special finishes, we’ll make it happen.