How to add metallic foil
If you're looking to elevate your print work and give your invitations or business cards a touch of luxury, consider adding a metallic foil for that premium finish.
- How does it work?
- Submitting your artwork
- How to set up your art work
- Create a single layer in indesign
- Create a single colour layer in illustrator
- Create a single layer in photoshop
How does foil work?
While metallic inks can produce some stunning effects, the only method to achieve an authentic metallic finish is by adding a foil. Foils are crafted to mimic the appearance of precious metals like gold, silver, and copper (with additional options available). Though they don't contain actual metals, they are designed to emulate their texture and the way they reflect light, giving your print an exceptionally radiant look.
To incorporate foil into your print, a metallic foil layer is stamped onto your pre-printed page or a coloured paper. Once you decide which areas need foiling, your design is etched onto a metal die, which is then heated. The foil is positioned between the plate and your paper's surface. When the heated plate presses down, the foil adheres to the paper, producing the metallic effect on the designated areas.
Tip: Since foil is completely opaque, you can add it to your designs without worrying about obscuring the elements underneath—there's no risk of show-through. This method prevents problems with mis-registration.
Submitting your artwork
If you want your printed product to feature a foil finish, we require an additional PDF file with a spot colour layer to indicate where and how you would like the foil applied.
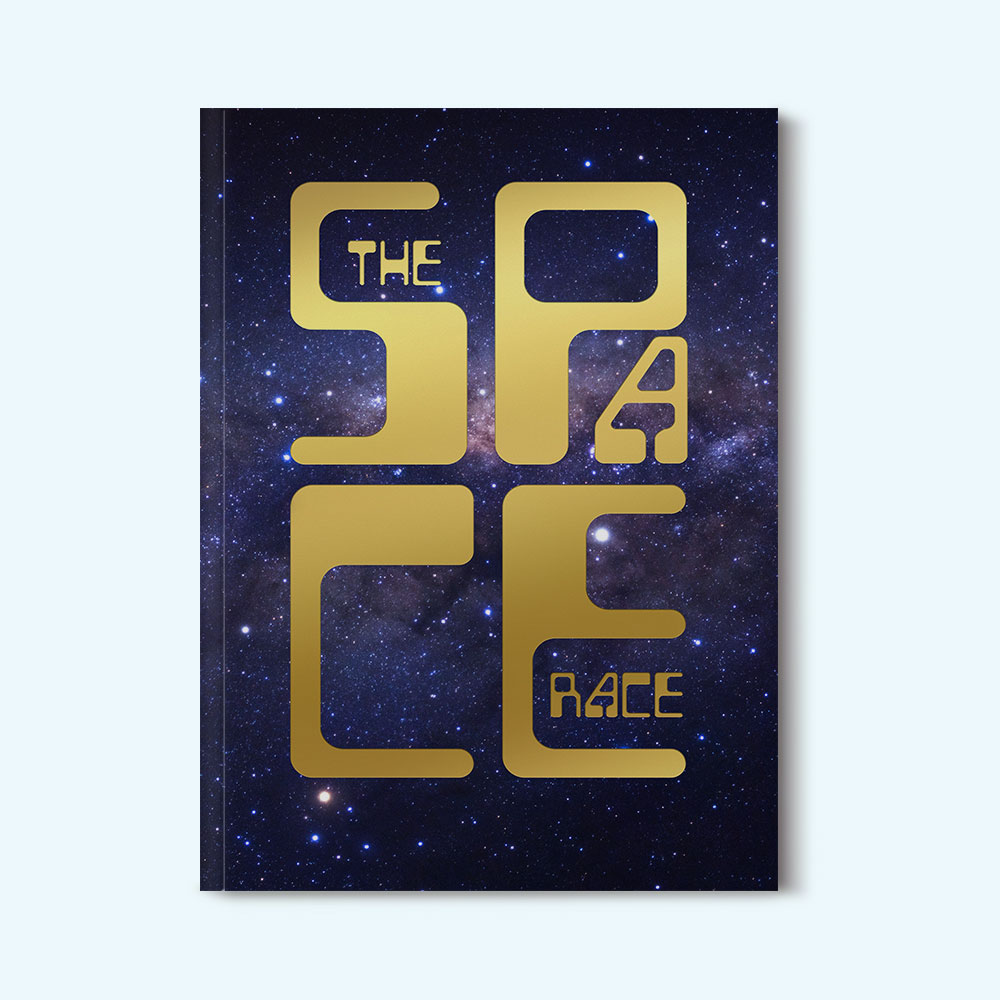
For example if you wanted to print a booklet with gold foiling for the title on your cover design, YouLovePrint needs:
- A full colour artwork file that includes all text and images for your cover. This is necessary if your design incorporates images or text that must be printed before the foil is added, as the foil is placed on the completed page.
- A single colour file, typically in black, that marks just the elements you want foiled. This file acts as a precise guide for where the foil should be placed during printing. It must align perfectly with the artwork on the full colour page to ensure correct placement, so only create this layer after your artwork is completely finalised.
How to set up your artwork
Different design software vary in their approach to creating a single colour file for foil printing, but the underlying principles remain consistent — it's all about isolating the area of the image where you want the finish applied.
We'll guide you through the process of creating single colour files and spot colour layers using Adobe’s Creative Cloud apps, though these techniques can also be adapted for use in other similar applications, where the functions may have slightly different names.

Create a single layer in InDesign
Once you've completed your artwork, it's time to prepare your single colour plate. Start by creating a new layer in the layers palette and name it 'Foil'. (If your other artwork is on one layer, label this 'Artwork').
Next, add the elements you want to foil print to this new layer. To do this without altering the main artwork, duplicate each item and move it to the 'Foil' layer.
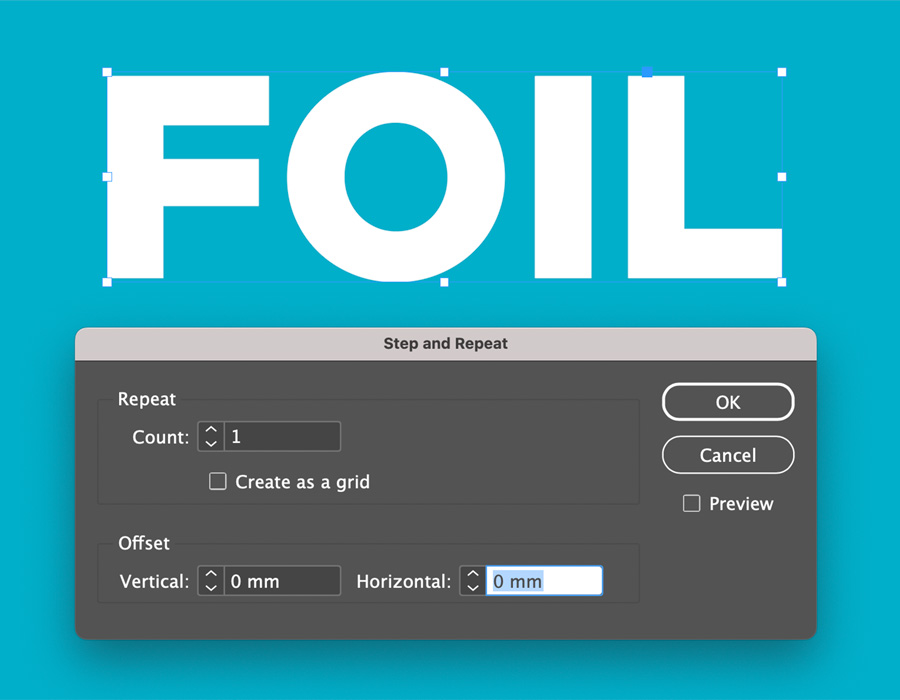
The most precise way to duplicate items is by using 'Step and Repeat', found in the Edit menu. This function duplicates your object to a specified location. If you set the Offset values to 0, it will place the duplicate exactly over the original.
Alternatively, you can use 'Copy' and 'Paste in Place' to duplicate items. This will paste them exactly in their original positions. These options are also in the Edit menu. Make sure to use 'Copy' to keep your original artwork intact.
To transfer an item to the 'Foil' layer, select it in the main window, open the Layers palette, and drag the small coloured square next to the selected layer onto the 'Foil' layer. The border colour of the artwork will change to match the 'Foil' layer, indicating it's now part of this layer, visible if you expand the layer in the palette.
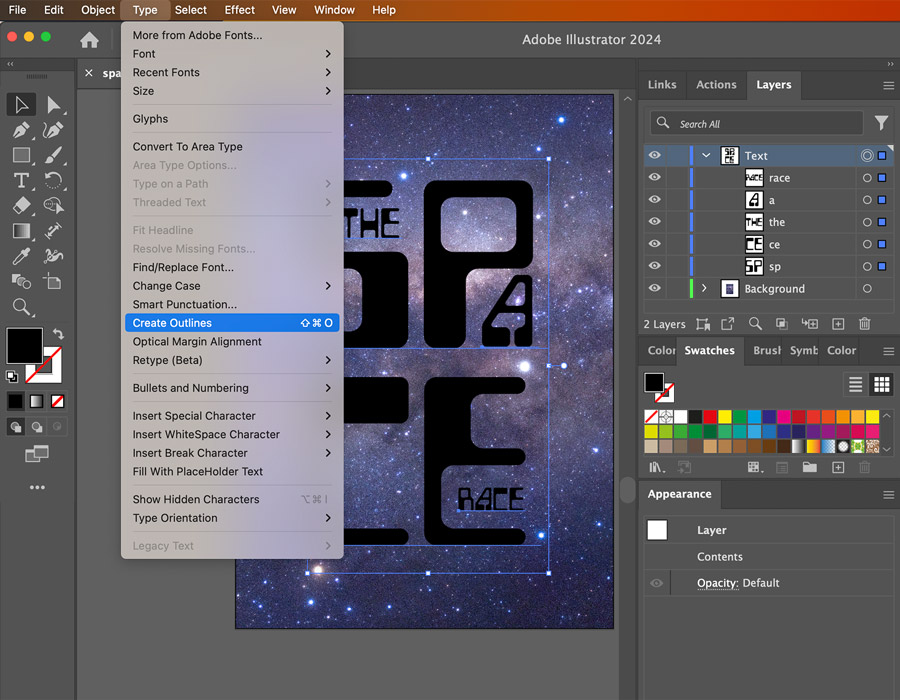
For elements on the foil layer, convert all text to outlines by selecting it and using Type > Create Outlines. This turns the text into a vector shape, avoiding any font embedding issues in a PDF. Remember to delete the original text to prevent confusion.
Now, change the colours and strokes of the elements in your 'Foil' layer to a single colour. We recommend process black, but any single plate colour works. For spot colours, choose a distinctive shade like bright pink or green, which isn't in your main artwork, to make it stand out.
To export your single colour layer separate from your four-colour artwork, hide the 'Artwork' layer by clicking the eye icon next to it in the Layers palette. Export this as a JPEG or PDF and name it distinctly (e.g., add '_FOIL' at the end). For the four-colour artwork, hide the 'Foil' layer, reveal the 'Artwork' layer, and export it as a different file (e.g., '_ARTWORK').
If you're using a spot colour, simply export your PDF, and a fifth colour plate will be included in the final file.

Create a single colour layer in Illustrator
The method for creating a single colour plate in Illustrator is quite like that in InDesign, though Illustrator names some functions differently.
Begin by opening a new layer named ‘Foil’—it's a good practice to label your other layers at this stage too. To replicate the elements for foil printing, you have two options: use ‘Copy’ and ‘Paste in Place’ from the Edit menu, or navigate to Object > Transform Each, which serves a similar purpose to InDesign’s ‘Step and Repeat’. In the Transform Each dialogue, ensure the Move values are set to 0 and the Scale to 100%, then click ‘Copy’ to duplicate your element.
Next, shift your elements to the emboss layer as you would in InDesign. Convert text to outlines using Type > Create Outlines. Unlike InDesign, this action leaves no live text version behind.
Alter the colour of the element to a single colour—we suggest process black—or to a spot colour (refer to our guide on spot colours). Finally, export your artwork as separate files, just as you would with InDesign.
Create a single colour layer in Photoshop
While it's possible to create a single layer in Photoshop, we generally advise against it. Photoshop is mainly designed for raster or pixel-based work, whereas Illustrator and InDesign primarily use vectors, which create cleaner edges and more precise finishes through lines and paths.
However, you can still apply foil effects using Adobe Photoshop. Start by setting up a new layer named 'Foil' or a new group of layers where you can organise your elements.
To make your foil layer or group, convert any text into a vector by right-clicking on the text layer in your Layers palette and choosing ‘Convert To Shape’. This action changes the text into a path. (Be sure to duplicate the layer first if you wish to retain an editable text version.)
If your design uses vector shapes, duplicate their layer (or the group they belong to) and shift them into the ‘Foil’ group.
Should you want to foil a specific section of an image or photo, use the path or lasso tools to make a selection, then fill this on the ‘Foil’ layer with your selected colour.
Ensure the edges of your selections are sharp and not feathered to achieve a clean finish.
Once your emboss layer or group is ready, Export or Save your files as a JPEG or Photoshop PDF. Create one file for the artwork and another for the single colour area for embossing, labelling them clearly to indicate their contents.
Alternatively, you can provide us with a native Photoshop document containing all these layers. Just ensure the artwork isn't flattened or layers merged, and clearly label the foil layer.